Support website for clients who are signed up to our SaaS Website Packages. Includes online help and tutorials.
*** Our comprehensive userguide can now be accessed from the URL below ***
https://editmysite.zendesk.com/hc/en-us
Below are instructions for performing some of the more common tasks.
How do I log into my SaaS Website?
How can I Upload Images?
Upload Multiple Images / Slideshows / Galleries
How Can I Add Pages to a Site?
How Can I Better Organize My Site Navigation?
How Can I Change the Look of a Page with Header Types?
How Can I Manage Pages?
How Do I Change a Page's Header Image?
Create Links
How Can I Upload PDFs, Powerpoint Slides, and Other Docs?
How Do I Add Text to a Site?
How do I log into my SaaS Website?
If you are using our SaaS Website system, you can login to edit your website, view website stats and contact form submissions, at the URL below.
portal.loungenetwork.co.nz
How Can I Upload Images?
There are four ways to add pictures to your pages: Image Elements, Slideshow Elements, Gallery Elements, and via Headers. The most commonly used of these is the Image Element, so we'll focus put our focus there in this article.
Drag the image element to a page. Then click on the element to open the dialog box.

There are several ways to add a photo. The most direct is to upload an image from your own computer, by dragging an image from your desktop into the window, or clicking the green “Upload a photo” button and selecting the file.

The size of a picture will vary after upload, but it may be a different size than you'd like and will often be as wide as the entire site.
You can alter this, though; hover over over the image and a blue box in the lower right corner will appear, which you can click and drag to adjust the image’s size.

Clicking on the photo also opens up a settings dialog box that you can use to make further changes.

Notable controls:

- Link: This option turns the image into a link. We cover links later in this guide.
- Lightbox: If you turn this on then any visitor who clicks the image on your site will be shown a larger version.
- Spacing: Makes minor adjustments to the amount of white space around the picture.
- Caption: Lets you add a basic text caption under the pic.
- Advanced: Allows you to adjust (or turn off / on) the border around the picture.
And the Edit Image button will open a simple image editor, where you can add basic effects, rotate, or crop your image.
Once you've made any changes click OK. If you don't like the changes you can click Crop again to readjust or click the grey Cancel button to drop out of the editor.
Upload Multiple Images / Slideshows / Galleries
If you want to add multiple images to your site, there are two easy ways to do that, with our Gallery and Slideshow elements. Choosing which one depends on how you want it to look. For reference:

- Gallery: Displays photos in a grid, clicking on an image opens it in a large “lightbox” display. Manual control for scrolling through photos.
- Slideshow: Displays one large photo at a time within the page, with sequential thumbnails. Autoplay or manual control for scrolling through photos.
Gallery
Our gallery element enables you to display as many images as you’d like, in a click-to-see-a-larger-version (lightbox) grid format that you control.
Drag the Gallery element to a page to get started.

Then click the Upload Images button that appears in the element.
And either drag images into the box or click the big green Upload Photos button.
This will let you select images from your computer to upload. You can select multiple images by holding the CTRL key on a PC or the Command key on a Mac. If you have trouble uploading images, we'd recommend limiting the number you upload to no more than 50 or so at a time. You can always add more later.
Give the photos a few minutes to upload and then you'll see your gallery on the page.

Each image in the gallery automatically links to a larger version of the image. You can also link an image elsewhere (another site or page) if you like or add a caption that will appear on the enlarged version of an image. Click on the gallery to see these options.

Click on thumbnails and drag them around to rearrange images within the gallery.
The gallery's toolbox enables you to make additional changes.

- Add Images: There's no limit, but we recommend uploading no more than 200 images to any one gallery so as to not overwhelm your visitors.
- Determine the number of Columns you want. The default is 3, but you can use from 2 to 6.
- Select the amount of Spacing to place between each image.
- Adjust Caption settings and placement.
- And with Advanced, choose if you want a border around each thumbnail or not. And select if you want to crop the thumbnails to either squares or rectangles. This cropping has no impact on the enlarged images, it only changes the look of the thumbnails to make the gallery look more uniform.
Slideshow
To add a slideshow of images, drag the element to a page on your site.

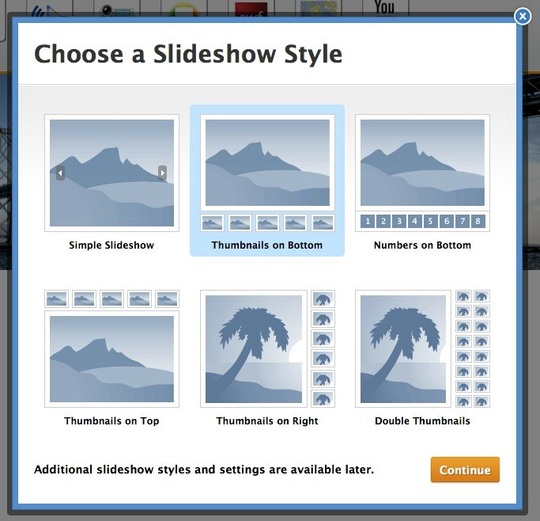
This will open the "Choose a Slideshow Style" dialog box where you can select which style of slideshow you want. This can always be changed later, so don't spend too much time worrying about which one you want.
You'll now be prompted to upload photos. Hit the big Upload Photos button or just drag some photos into the box to get started.
Then select the photos you want to upload. You're to both delete unwanted photos and and more photos to the slideshow at any time, so you don't have to be too selective at this point.
Depending on how many photos you've chosen, it may take them a few minutes to upload. Once they're done uploading you'll see them all on the photo management screen.

You can drag photos to re-order them, click the "x" next to each to delete them and click the "bubble" icon to add a caption that'll appear along with the photo in the slideshow.
When you're ready to move on, click Save and you'll see the slideshow as part of the page.

Click on the slideshow to open its toolbox and make changes (scroll to view more options within the toolbox).

- Use the Add / Edit Photos button to bring up the Manage Photos dialog box we saw earlier.
- Use Transition Style to switch between five different photo transitions.
- Use Navigation to select whether you want to use Thumbnails, Numbers or no navigation at all.
- Use Speed to determine how fast the slideshow should play.
- Use Spacing the tweak the amount of space around the image.
- Use Caption to determine if any text captions should appear at the top or bottom of each image.
- And with the Advanced option, set Autoplay to On or Off (it's on by default) and determine if you want the slideshow to always play in order or start from a random point every time the show is loaded.
Note that the slideshow will automatically expand to the width of the page or column in which you've placed it. So if you want to shrink a slideshow, you simply need to place it in a column by dragging a Spacer element too either side of it.
How Can I Add Pages to a Site?
More pages can be created and added to the site via the Pages tab, which opens a Pages list in the sidebar. Click the + to create a new page.
There is an option to Add a Standard Page, a Blog Page, a Store Page, or an External Link. Let’s focus on creating Standard Pages.

Selecting the Standard Page option will add a New Page and prompt you to give it a name, as well as provide you with a few options for the look and function of the page. It will also automatically show you this page while you work on it.

Adding more pages is a matter of clicking Add Page and choosing Standard Page again (and again).
As you add (and name) each of your pages, they'll automatically become part of your site's navigation bar.

You can re-arrange the order of the pages by clicking and dragging them up and down the Pages list. Dragging a page to the top of the list will make that page your Home.
Changing the order of pages in the list will also change the order in which they're displayed in the navigation.

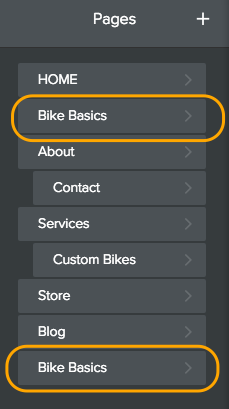
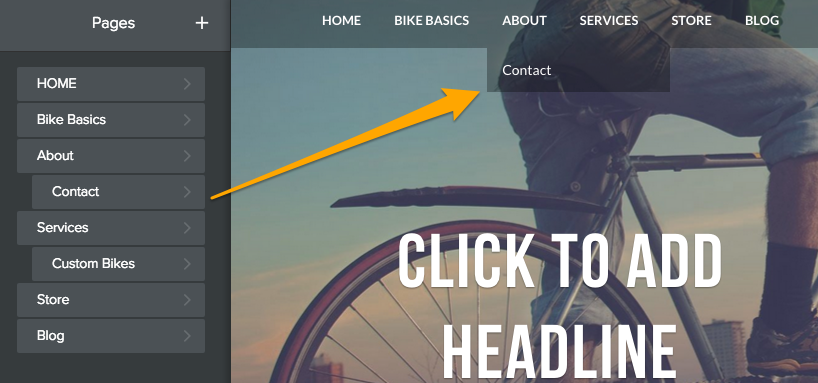
You're also able to create subpages of other pages.
You can do this by dragging a page or pages underneath and to the right of another page.
These subpages appear in a drop-down menu when you scroll over the page to which you connected them.

To edit the content of a page just click on its link from the navigation menu or go to the Pages tab, select the page from the list, and it will open in the Editor.
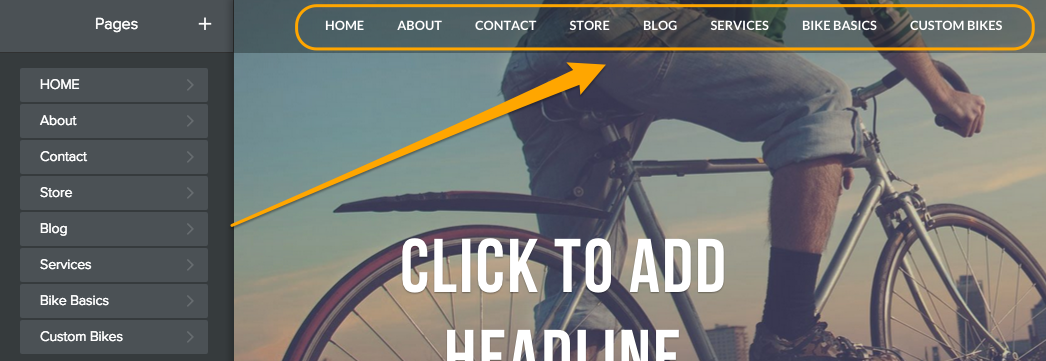
How Can I Better Organize My Site Navigation?
If your site has more pages than you can fit on the navigation bar our system will automatically create a More link and add all of your new pages as subpages of this More link.

This works reasonably well, but a better option is to avoid this More link entirely by making any excess pages of your site sub-pages of other pages. This gives you more control over the structure of the site.
How? By using the option found under the Pages tab. Drag a page underneath and to the right of another page in the list to create a subpage.

How Can I Change the Look of a Page with Header Types?
Pages can have a number of different types for the header of each page.
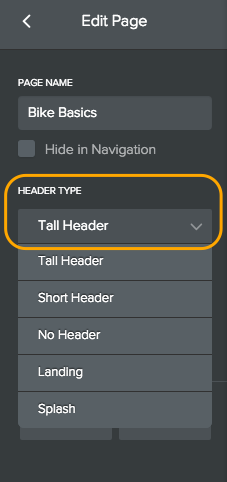
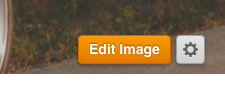
Open the Pages sidebar by selecting the Pages tab. Select the page you’d like to change, then choose a Header type from the drop-down list. You can also change the header from the page itself, by clicking on the gear icon in the lower right corner of the current header. This can be changed later (and over and over again), so feel free try out different types to determine which one you’d like to use.
Let's take a quick look at the most common types.
Tall Header
This type is the default for each new page. It includes a section at the top of the page where a large header image can be uploaded.
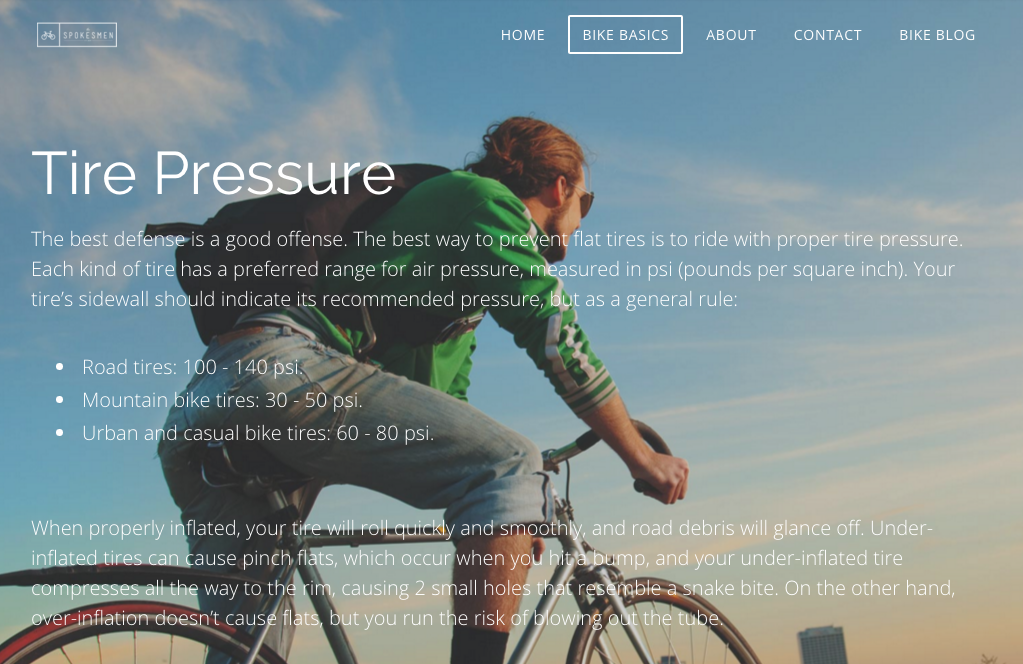
Short Header
This type includes a header area at the top of the page as well. But as implied by the name, this header is smaller than the default "Tall Header" type.

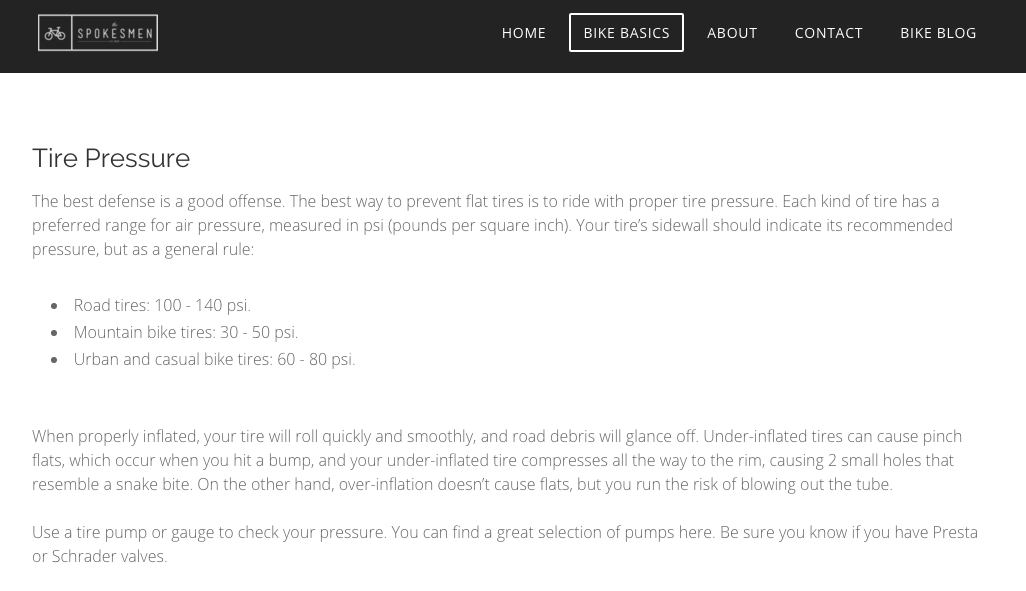
No Header
You can probably see where this is going now. Where the Tall and Short Header types each have an area to upload a header image, this type does not include any such area.
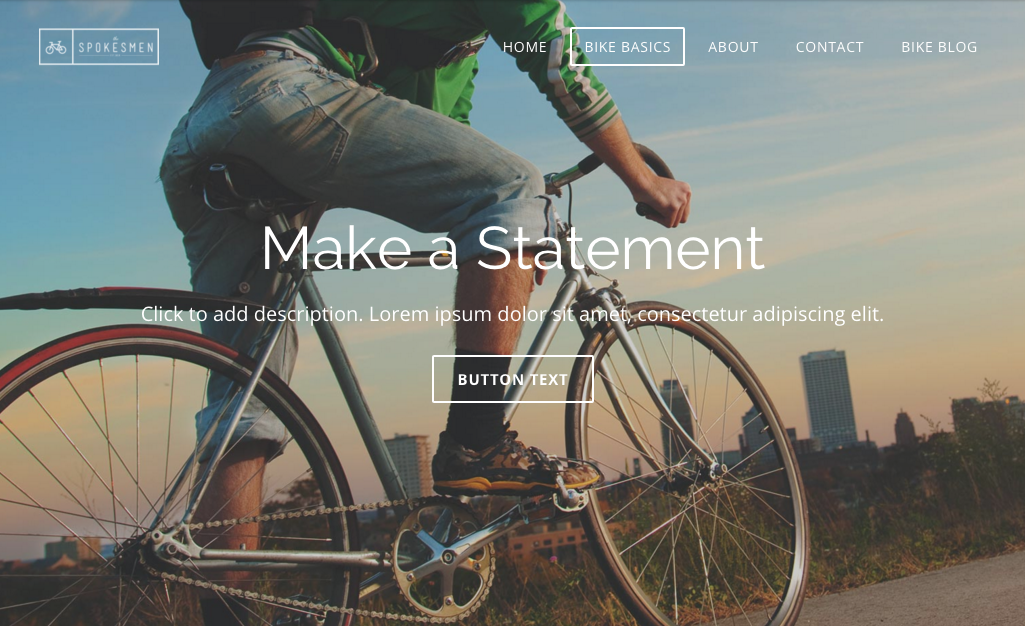
Landing Page
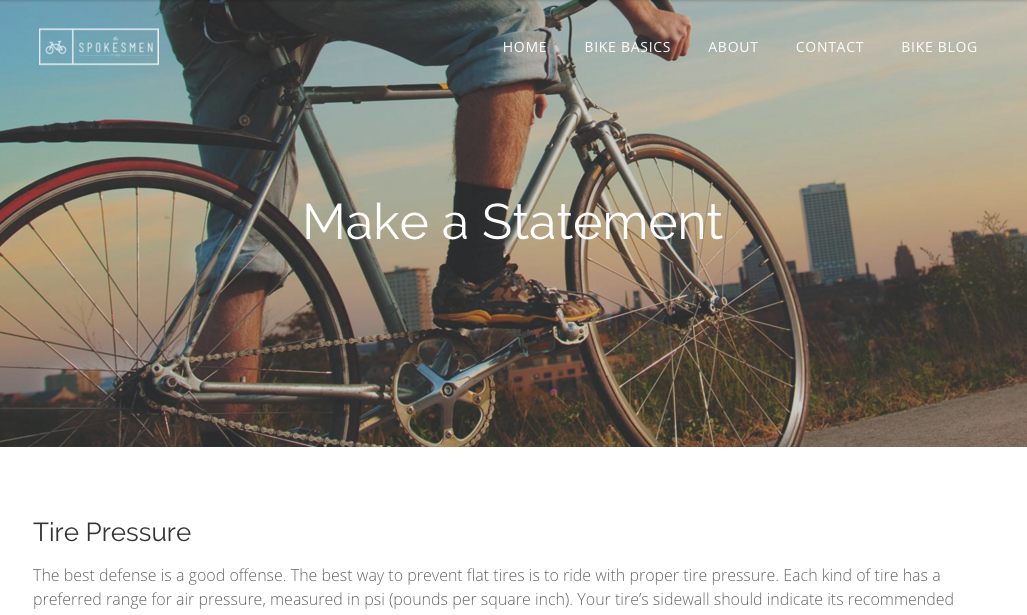
The Landing Page type includes space for a header image, a title, a subtitle message and an action button that can be linked to any other page of your site. The Landing Page is a great choice for your home page.
Splash
With a Splash page, you get an entire image for the background, and you can add text and any other elements on top of the splash image.
With any of these headers, hover over the image and click Edit Image to change or alter the header image. You can choose from a large selection of high quality (and free) stock images, or upload an image of your own.
How Can I Manage Pages?
Copy Pages
A page can be copied and used as the basis for a new page. To do this, just select the Pages tab and select the page you want to copy from your list of pages in the sidebar, then use the Copy button to generate a copy of the page.
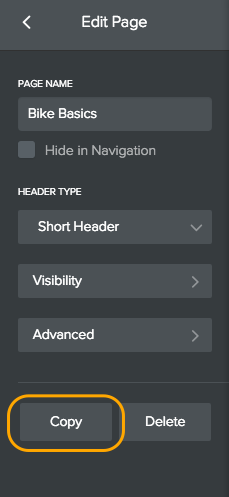
This will generate a new page at the bottom of your list of pages. This new page will have the same name as the original page.
Click on the page to add a new name and to make additional changes. Then hit Done.
Reorder Pages
As you add pages to your site, they will appear in the Pages list in the sidebar, and also they’ll automatically become part of your site's navigation bar. Where a page appears on this Pages list directly controls where it appears in the navigation.
You can rearrange the order of the pages by clicking and dragging them up and down the Pages list. Dragging a page to the top of the list will make that page your Home (though you can name it whatever you’d like).
Changing the order of pages in the list will also change the order in which they're displayed in the navigation.
Organize Subpages
As the number of pages you add outgrows the space on your navigation bar, additional pages will automatically be categorized under a tab labeled More.
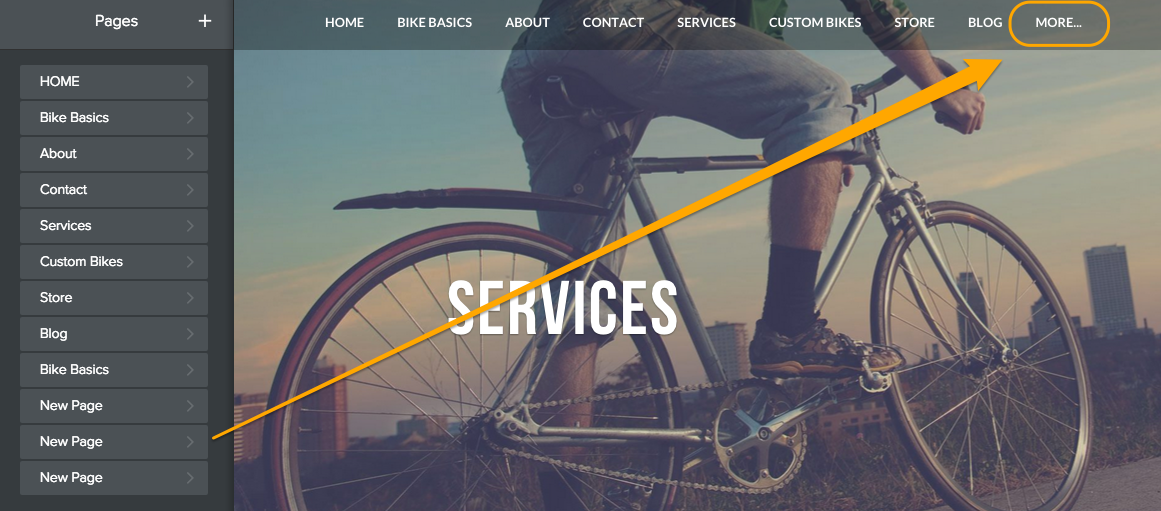
A better option to avoid a catchall like this one, is to create subpages.
To do this, just drag a page or pages underneath and to the right of another page.
The navigation menu will show your main pages, and when you hover over them, your sub-pages will appear in a drop-down menu below them.
Hide Pages
Sometimes you may not want pages to appear in your navigation menu at all.
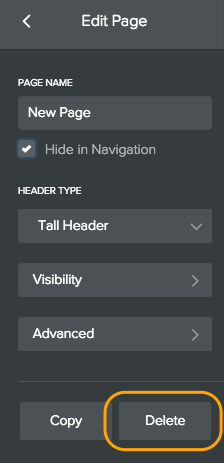
To a hide a page from the navigation menu, open the Pages list by selecting the Pages tab, choose the page and check the “Hide in Navigation” box.
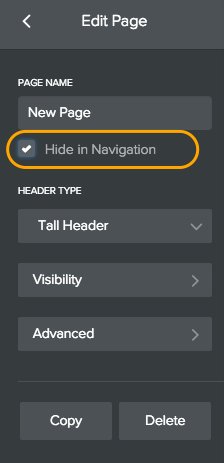
Taking this action with a page simply means it won't show up in the navigation menu. However, the page is still live, and you can still create a link to send visitors to the page.
But why hide a page at all? If you have dozens and dozens of pages, showing all those pages in the navigation could be overwhelming for your visitors. Hiding some of the less important pages and linking to them from the content area of your site is a way to keep the navigation area clean and easy to, well, navigate.
Delete Pages
If you would rather delete a page entirely, just select that page from the Pages list in the sidebar, then hit delete at the bottom of the options listed.
How Do I Change a Page's Header Image?
To get started, scroll over the header image and click the Edit Image button.
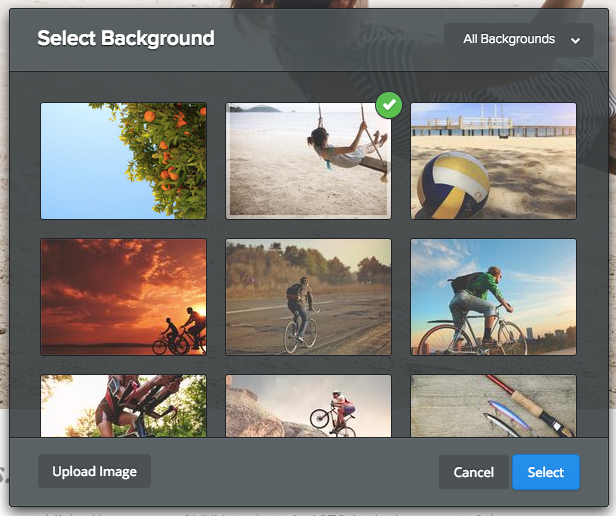
Now you can Select a Background from a set of high quality stock images geared toward a variety of applications (and you can sort by Category in the top right). Or you can Upload an Image of your own via the button in the bottom left. Choosing this option opens up our standard image upload box.
Once you upload or find an image, you'll be able to alter it.
You can move the image up and down within the header (it will already fit to the width of the page), zoom, blur, darken or add a filter.
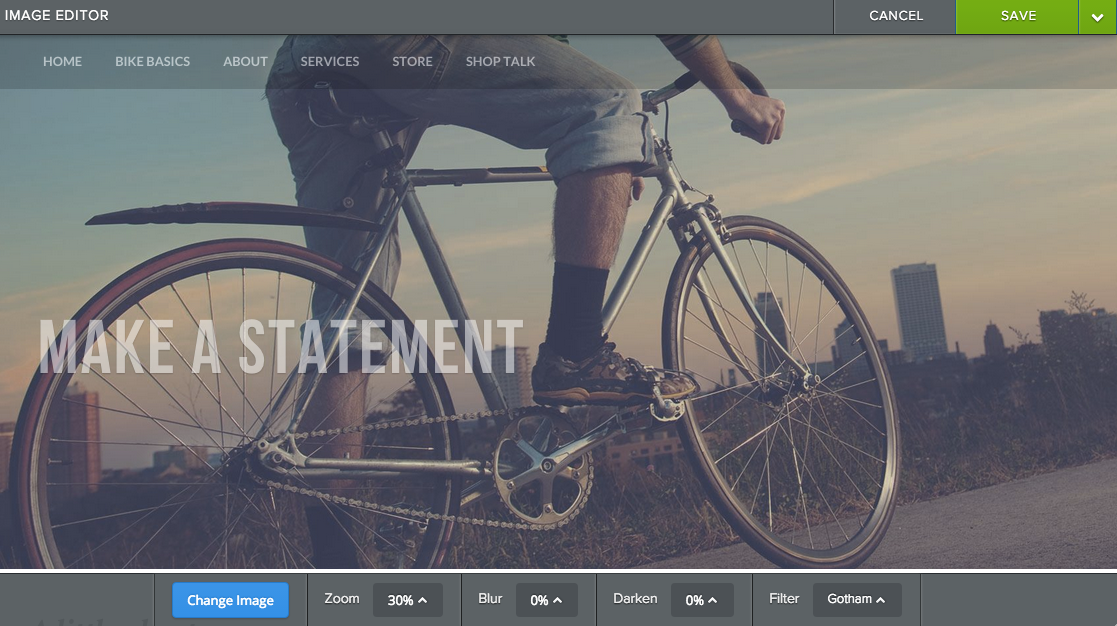
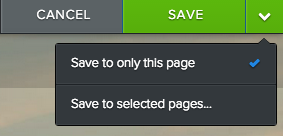
When you're happy with an image, select the Save button to Save it. You can use the arrow to the right of the Save button to choose whether to save the image to every page of the site, just this page or to select only certain pages to save it to. In that way you can have different headers on different pages if you want.
Create Links
There are several ways to create a link to another site, a page on your own site, a downloadable file, or an email address: a Text Link, Image Link, Button Link, and Navigation Link.
Text Link
Any text you enter into a Text or Title element can be turned into a link (or hyperlink).
First, highlight the text you want to link, then click the "chain link" icon in the text toolbar.

This will open the link dialog box, where you can select the kind of link you'd like to create.
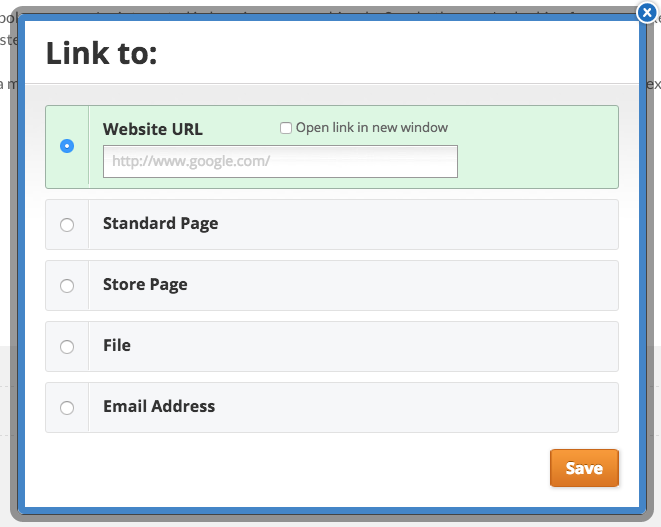
You can:
Link to a Website URL / page on another site. For example, an article on Wikipedia or a page that shows a picture of a cute puppy. You can also choose to have the link open in a new window so your site stays open in the original tab and your visitor can easily switch back to it.

Link to a Standard Page or Store Page on your own site. Just select the page you want from the drop-down menu.


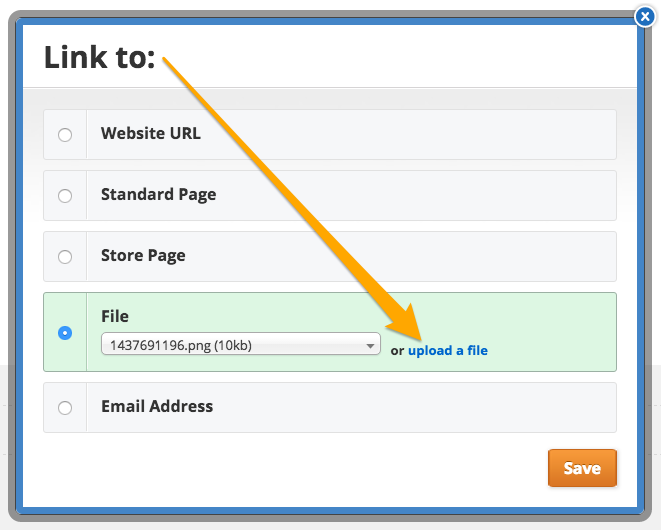
Link to a File (like a PDF or Word Doc) so that if someone clicks the link, the file immediately downloads to their computer. You can select a file from the drop-down menu or click “upload a file” to search your computer for the file you want.

Link to an Email address, which will automatically launch your visitor’s external mail program like Outlook or Apple Mail, so they can write you directly. Note that if the visitor is not using one of these programs, the link won't work for them (this is an issue with web browsers, not an issue with our links). Alternatively, they’ll need to copy your address or use a Contact Form if you have one on the site.

When you've created your link, click Save. Just keep in mind this link won’t be active in the editor, but clicking on it will show you where it leads, and give you the ability to change or remove it if needed. Your link will be fully functional on the Published site.
Image Link
You can also turn any Image element into a link. Click the image you want to use, then select Link from the image toolbox.

This will open your Link options, which are the exact same ones as for Text.
Button Link
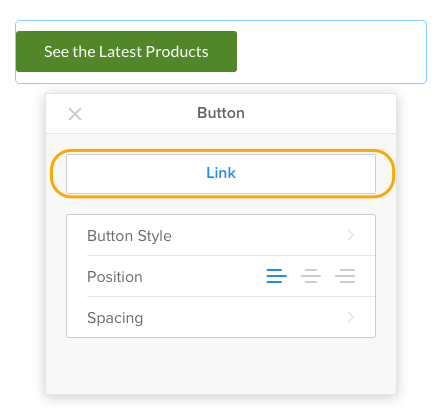
The Button element creates a handy call-to-action button which links to other sites, pages on your site, files and email addresses (see the pattern?).
Drag a Button element on to your page, enter any text you’d like, though the ideal length is no more than five or six words. Then select Link from the toolbox, and you’ll see your standard link options to choose from.
As always you must Publish your site to make the links active.
Navigation Link
The navigation bar or menu is essentially a set of links, which open pages on your site. If instead you would like one of those pages to link to an external website, then you can do that too.
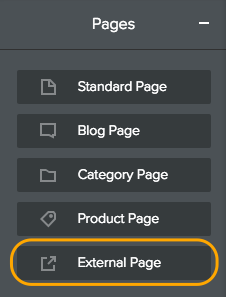
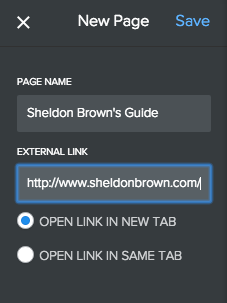
Select the Pages tab to open your pages list in the sidebar. Click the + and select External Page.
Name this page and enter the url, then choose whether you want it to open in the same tab, or in a completely new tab.
As always, you can move this page anywhere in your navigation by dragging it into place.
Publish and your changes will be live.
How Can I Upload PDFs, Powerpoint Slides, and Other Docs?

If you're linking an image, it'll look like this:

Either option will open a link dialog box from where you'll need to select File and then click the Upload a File button.
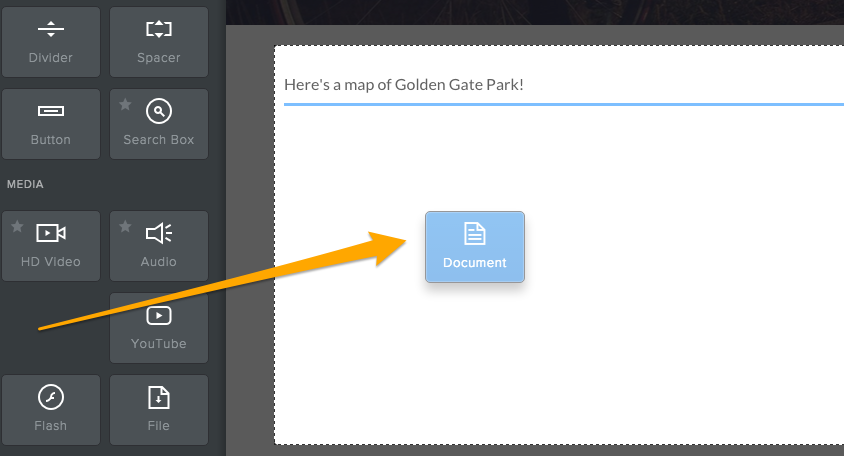
Click the indicated area of the element and the select the Upload File option from the toolbox.

Then select the file you want to upload from your computer.
How Do I Add Text to a Site?
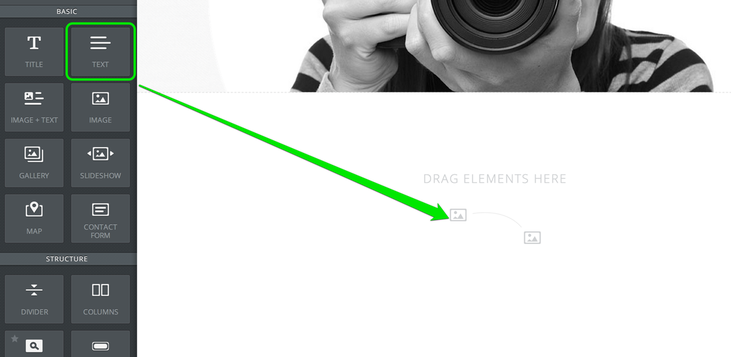
The text element is exactly what it sounds like: an element for writing text. Click inside the element to start writing.

You can write a word, a sentence, or multiple paragraphs in a single element.

As you write, take note of the gray toolbar at the top of the element. This is the text toolbar and it allows basic changes to the formatting of your text. It works much like any other such toolbar normally works: select the text you want to change and click the appropriate button to make that change.

From left to right, you can bold your text, italicize it, underline it, make it bigger, make it smaller, change the color, create a link, adjust the alignment of all text within the element, create bulleted and numbered lists, and remove formatting.
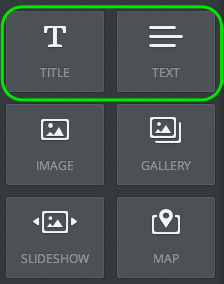
- Title: Used for adding titles / headers to a page.
- Text: Used to add most text to a page.